How to Create Your Own Template
We offer four ways to create an email template for free. One of the options is to usepre-made templatesdeveloped by our designers. Some users want to create their own template from scratch using our drag and drop editor. If that sounds good to you, follow this step-by-step guide, and you can create a professional template yourself.
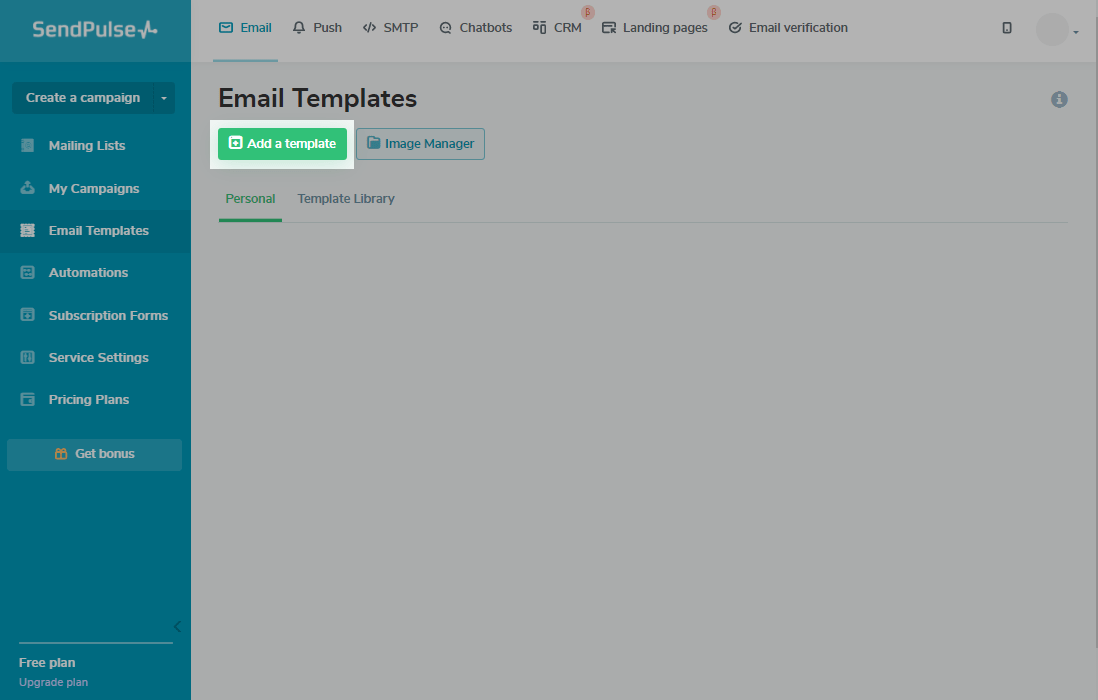
Go to the "Email Templates" menu and clickAdd Template.
Select a base structure for your template.
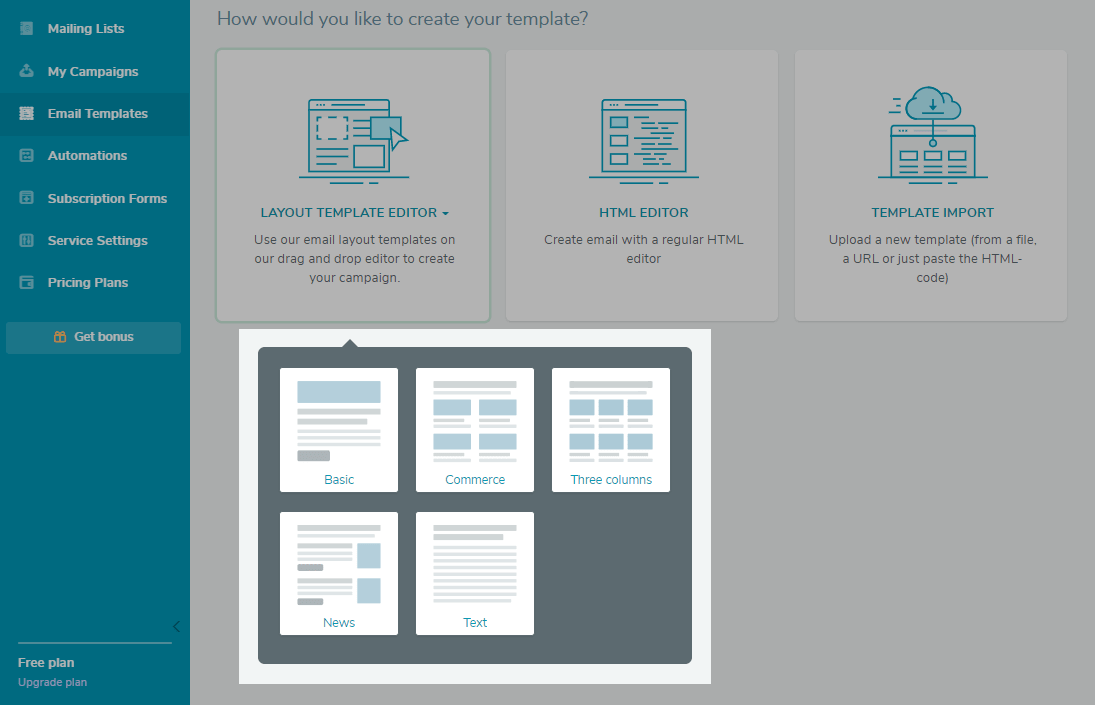
In this example, we will talk about the "News" template layout.
Open the drag and drop layout editor.
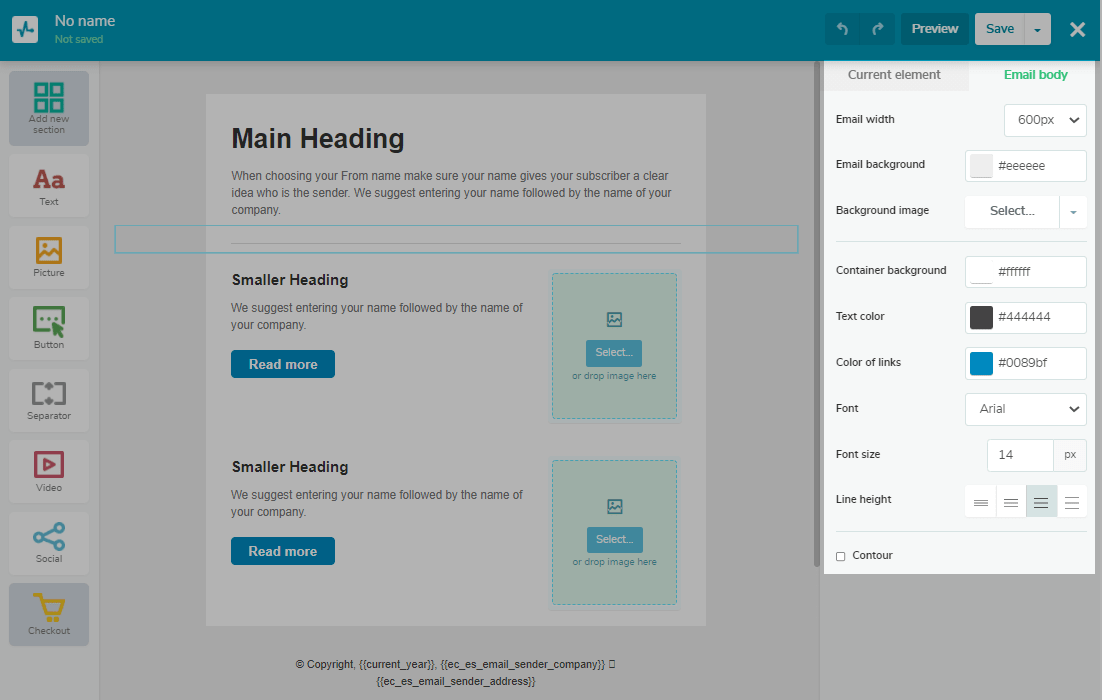
In the editor, the panel on the left side contains the elements that you can add to your template.
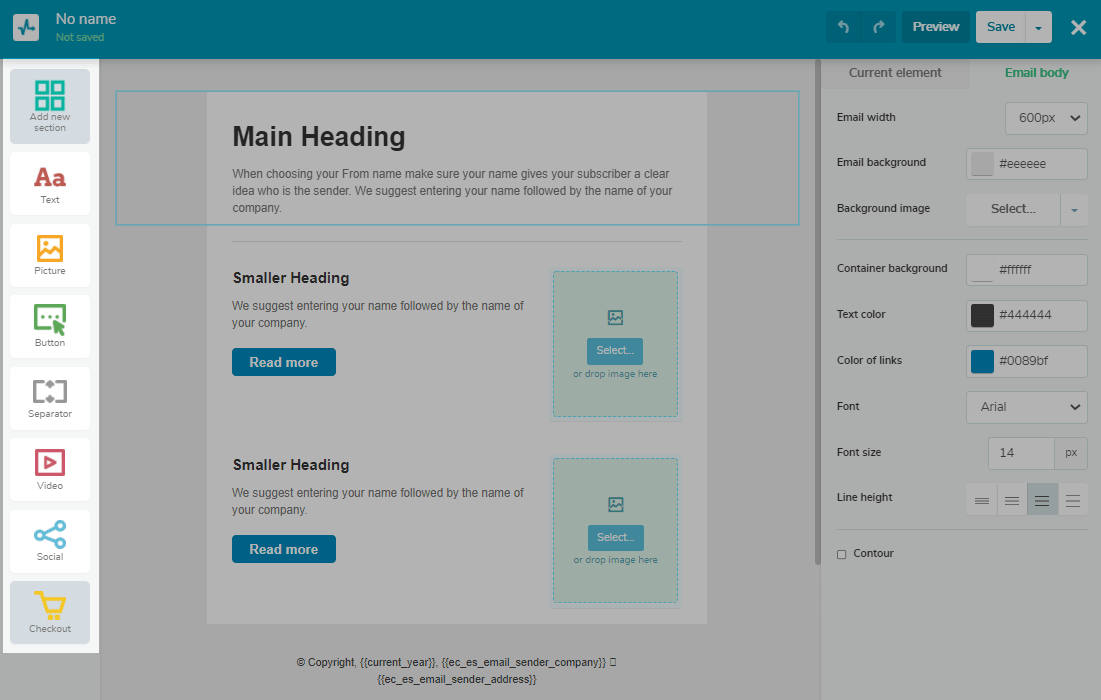
The middle part represents the initial template that you can edit by adding and changing elements.
The panel on the right contains options for editing the selected element.
The overall design settings for your template is on the panel on the right called "Email body" — here you can edit the generalemail background, email width, background image, text color, the color of all links, fonts, font size and color, line height, etc.
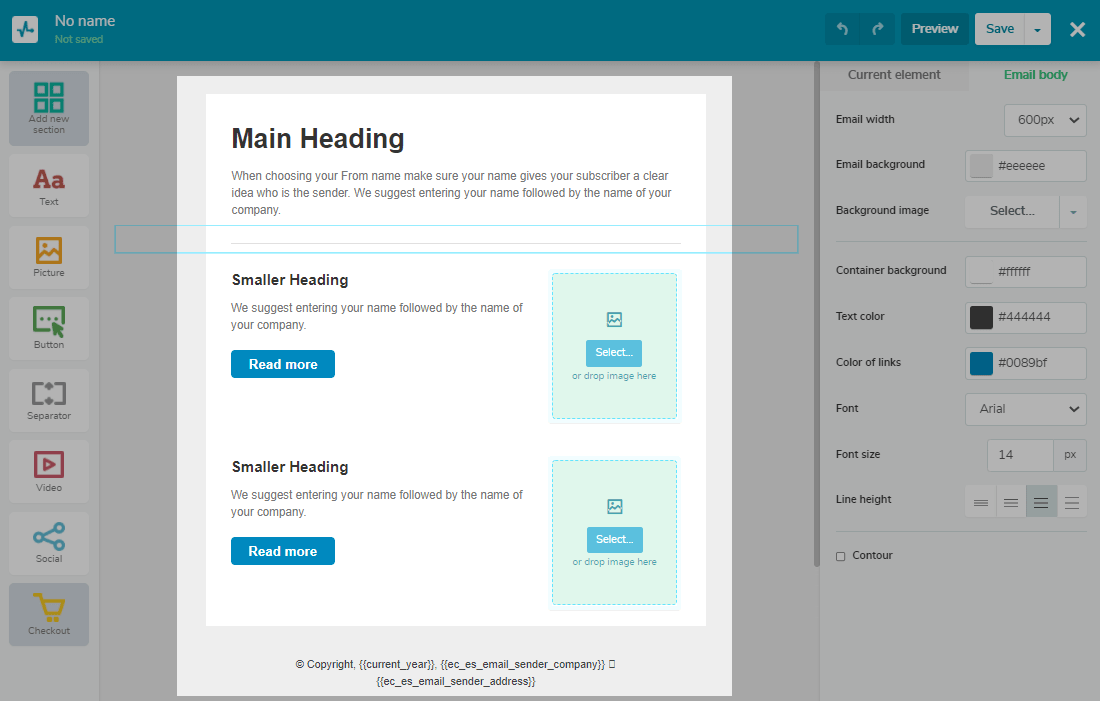
It is better to create a separate structure block for each element in the template.
“文本”元素
Adding a "Text" element
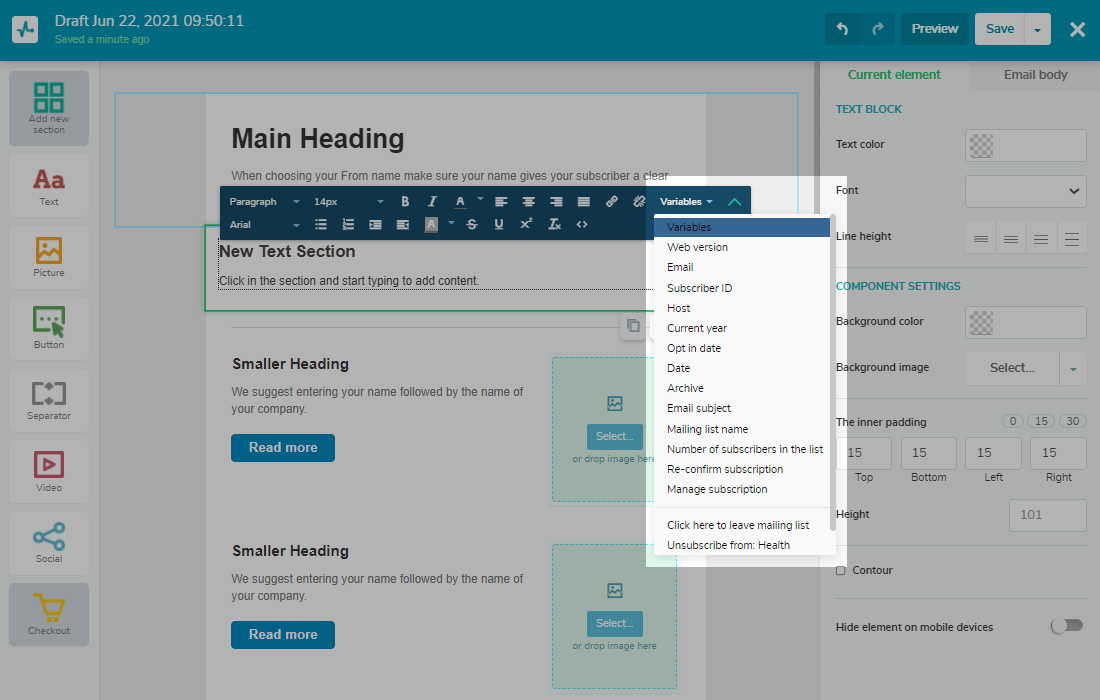
Choose the "Text" element from the panel on the left and drag it into the template.
In the center, you will see the visual display of the text in the element and options for styling the text on the right.
You make modifications in the editor to see how the template changes in real-time. The options available for editing text are text color, font, line height, background color, background image, padding, block height, contour, and the ability to hide the element on mobile devices.

Please note, if you need to add text using the copy-paste method, copy it from a simple text file (.txt). Otherwise, original text formatting may also be copied, and that, most likely, will affect your template layout. So instead, please copy the text from the original file, paste it into a simple text file, and then copy the text from the text file to paste it into your template.
When working with text, you can select a paragraph style, font, size, highlight a separate word in a different color, add a list, etc.
There are also parameters for editing an element: background color and paddings (top, bottom, left, and right).
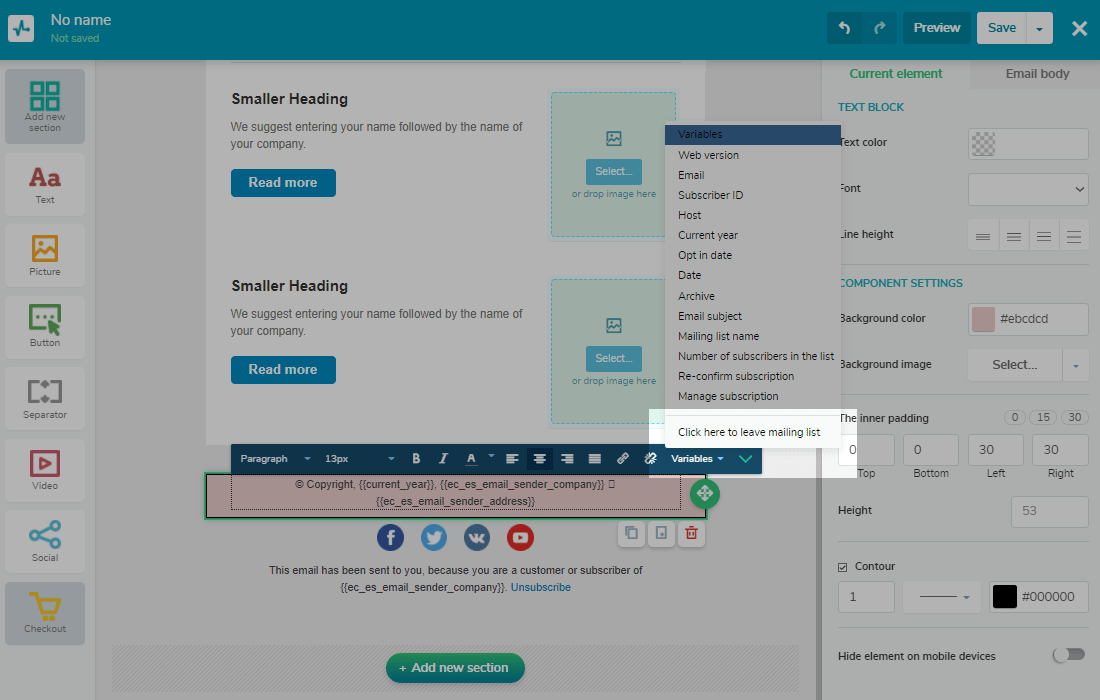
Click on the arrow to the right of the variable selection to open a drop-down menu where some editing options are hidden:
Variables
Insert variables using the text editor (use the "Variables" tab in the dropdown list).
If you want to use variables that are available for a specific mailing list, then first create a new campaign in the menu "My Campaigns" > "New campaign."
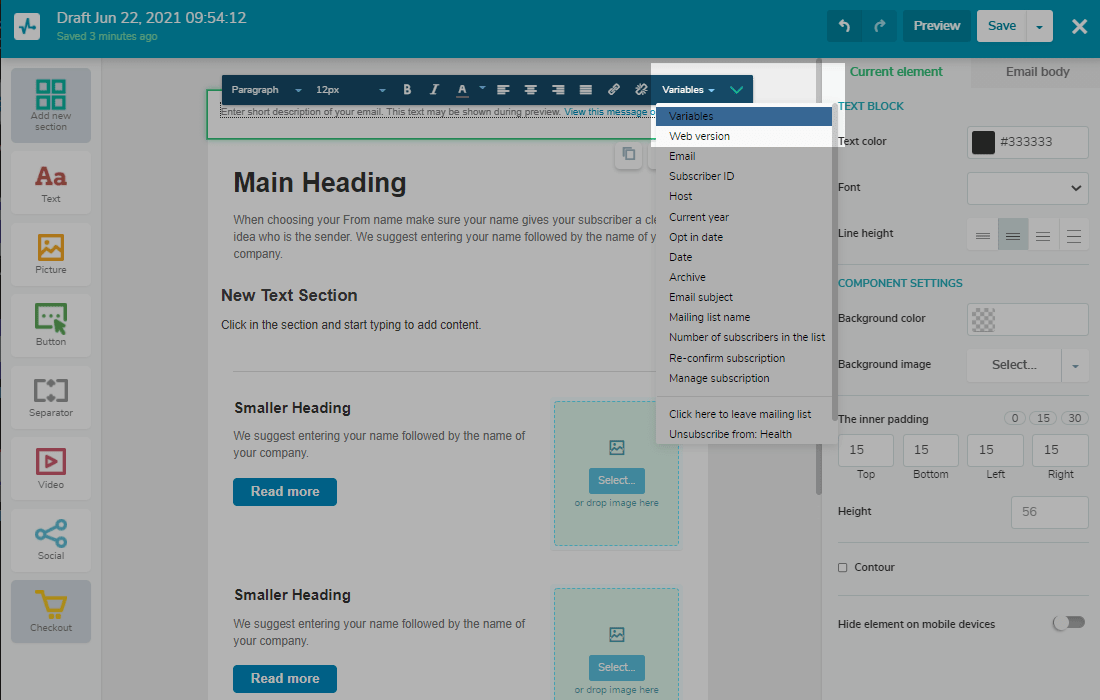
"Preheader" structure
The "Preheader" is the text that is visible to subscribers in their mail client right after thesubject.
Pick this element using "Add new section" > "Examples" menu, drag and drop it into the template and place it at the top of the email you are building.

Usually, the preheader consists of 2 elements in 2 columns: the preheader itself and the web version of the email.
Click on the preheader with your left mouse button to start editing the element.
"Footer" structure
A "Footer" is what an email ends with - an element with company contacts (address, phone number, website), and other helpful information for subscribers.
Add a footer to the template ("Add new section" > "Examples" > "Footer"), change the text, and set the element parameters.
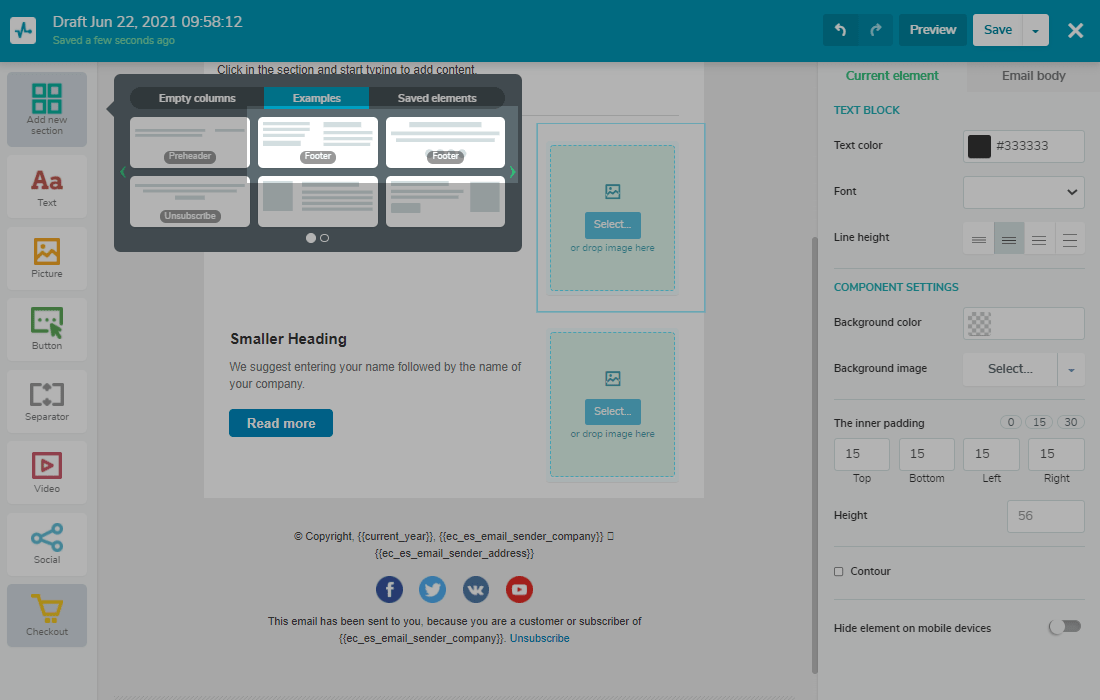
You can choose whether it is solid or split into two columns.
Like with other elements, you can edit the footer text, add company details and set up a background color.
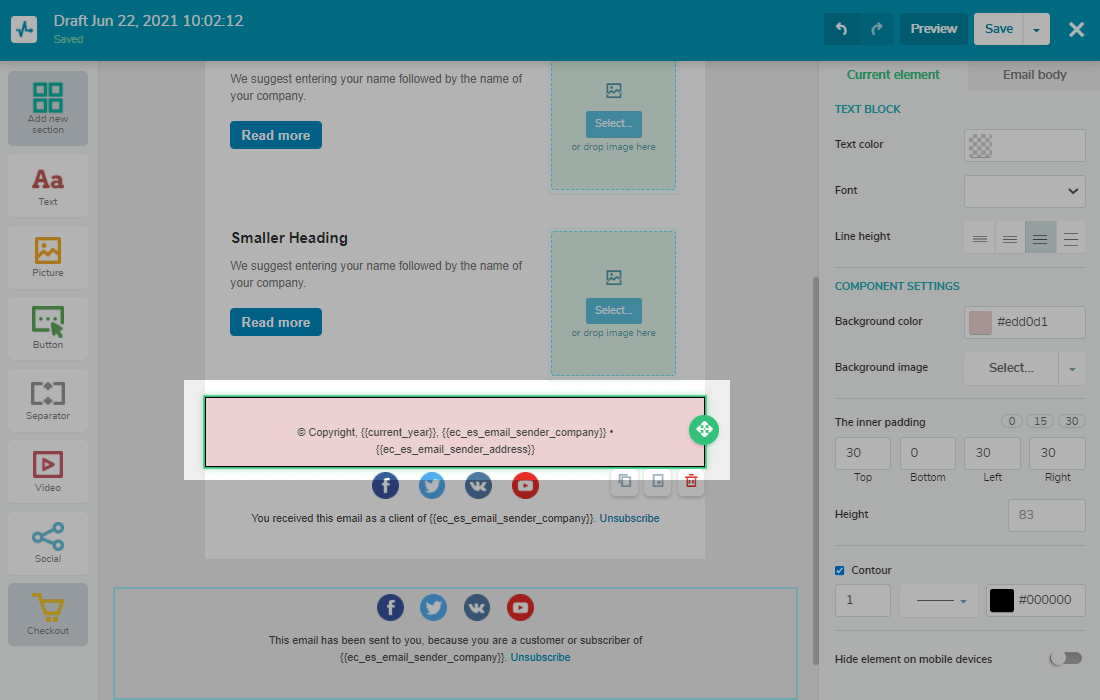
Pay attention to the{{ec_es_email_sender_company}}variable in the footer — it’s a company name from your SendPulse account settings. You can edit this value in "Account settings" > "Company information" > "Company."
"Unsubscribe link" structure
Each email sent via the SendPulse email service must include an unsubscribe link — if the user doesn't add it, the service will do that automatically.
The "Click here to leave mailing list" element is located in the "Variables" drop-down menu.
You can insert an unsubscribe link into any element of the template.
Learn more abouthow to create an unsubscribe page.
If you don't have an unsubscribe link, the template will use a standard unsubscribe link. In this element, you can change the color (background and text), font, text position, line height, contour, etc.
"Picture" element
Adding a "Picture" element
Drag and drop a picture element into your template.
There are two ways to add a picture to the template: uploading it from your computer or selecting a picture you have already used in the service.
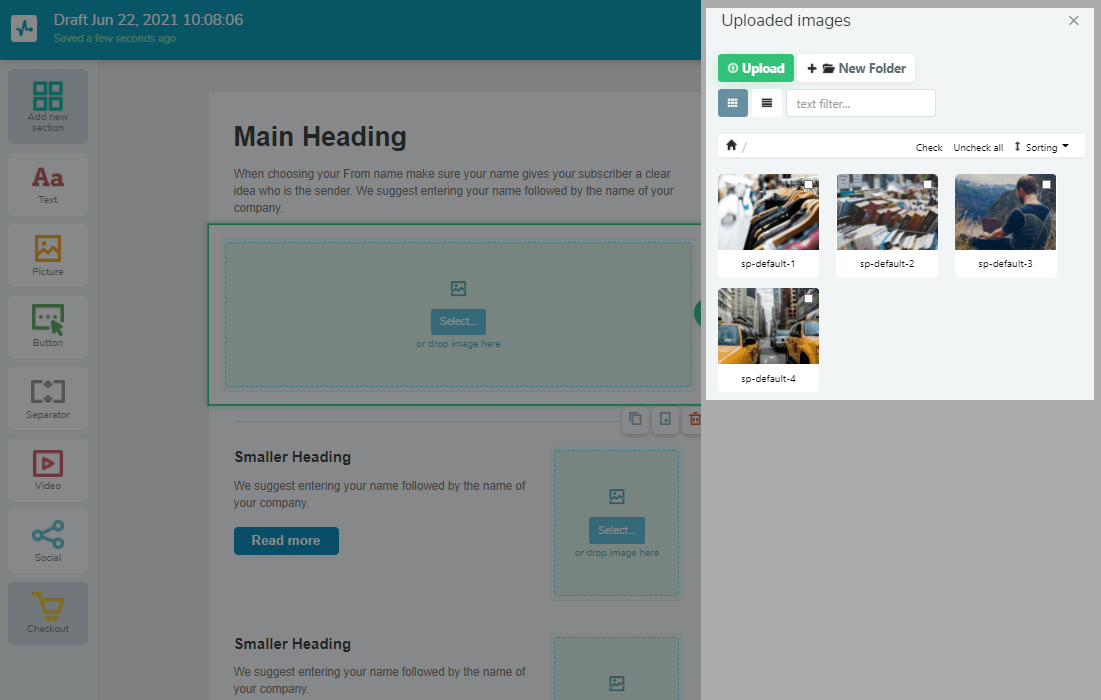
Previously uploaded pictures are stored in the "Image Manager" — you can find it in the "Email" > "Email templates" menu.

Upload a picture, and it will appear in the template.
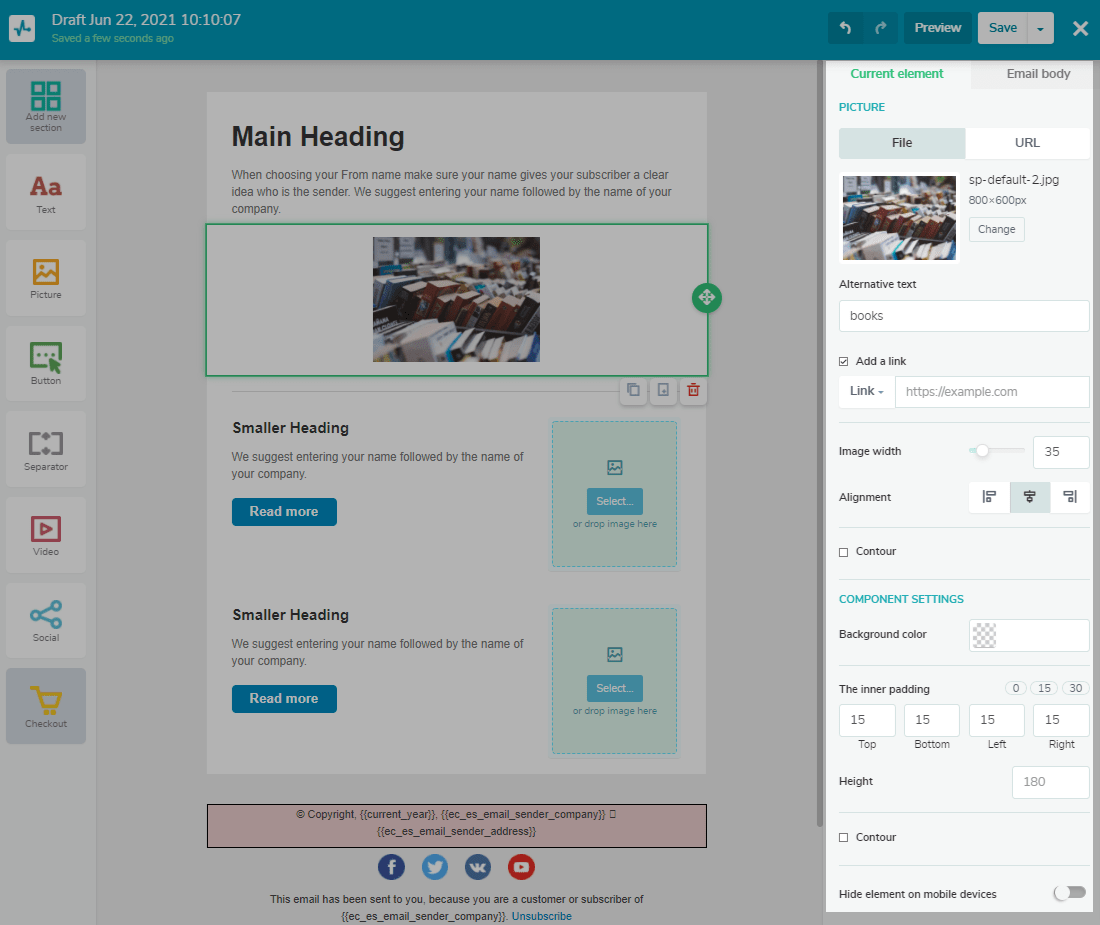
Picture editing
You can change the parameters of each picture in the panel on the right.
Alternative text
Sometimes email apps don't display pictures inside incoming emails. When there is no alternative text for an image, the recipient will see the file name, which will most often puzzle the reader and cause suspicion fromspamfilters.
This is why we strongly recommend using the alternative text option in your templates.
Image width
Each image added into the template is displayed at 100% size. You can reduce it to 10%, but remember that on mobile devices, all images are displayed at 100% size.
Keep in mind that changing the image's width entails a related change in height. Therefore, it is better to resize the image BEFORE inserting it into the template editor.
Alignment
Alignment means the picture's position relative to the edges of the element you add it to.
You can align the picture to the left, right, or center.
The inner padding
The value of this parameter is the even indentation of the image from the edges of the element: top, bottom, right, and left
Background color
This parameter sets the background color for the element containing the picture.
Contour
With this option, you can add a border around your image or image element. Check the "Contour" checkbox and then specify the frame's color, type, and width.
Link
Use this option to add a hyperlink, phone number, email address link to the image
If you link a phone number this way, the recipient will click on the image, and their default telephone app will start to make a call to the linked phone number.
If you link an email address, don't forget to add an email subject — when the recipient clicks on such an image, their default email application will start.
Please note that you need to provide a full link to the page, starting with http://.
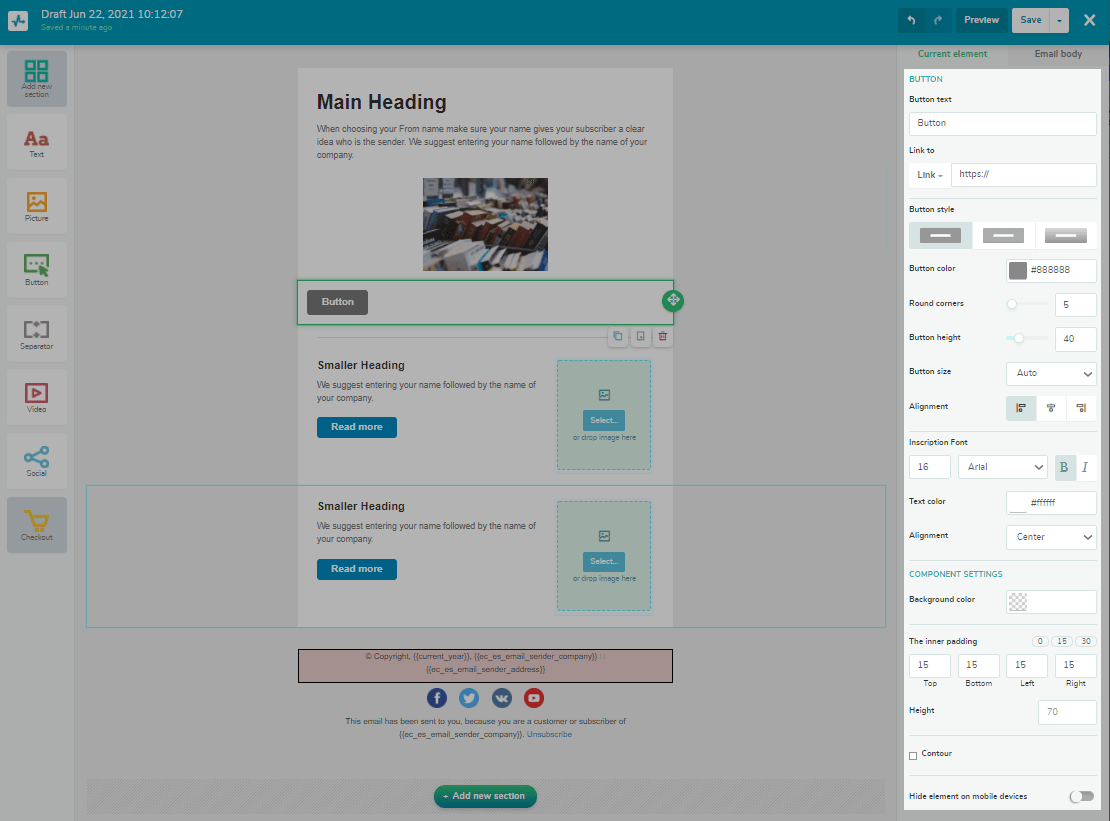
"Button" element
Drag and drop a button.
Add a link the button will lead to, then add the text your recipients will see on the button. You can edit the style, width, height, and color of the button. Next you can align it, round the corners, and adjust the positioning of the text on the button.
Acall to action, designed in a beautiful style, is an additional chance that the recipient will notice the button and want to click it and go to your website.
Therefore, pay attention to the parameters of the text.
The button can open a link, start a phone call, or send an email. You can also specify the subject of such an email to autocomplete it in the recipient's mail application.
Editing element parameters consists of choosing a background color and specifying the paddings.
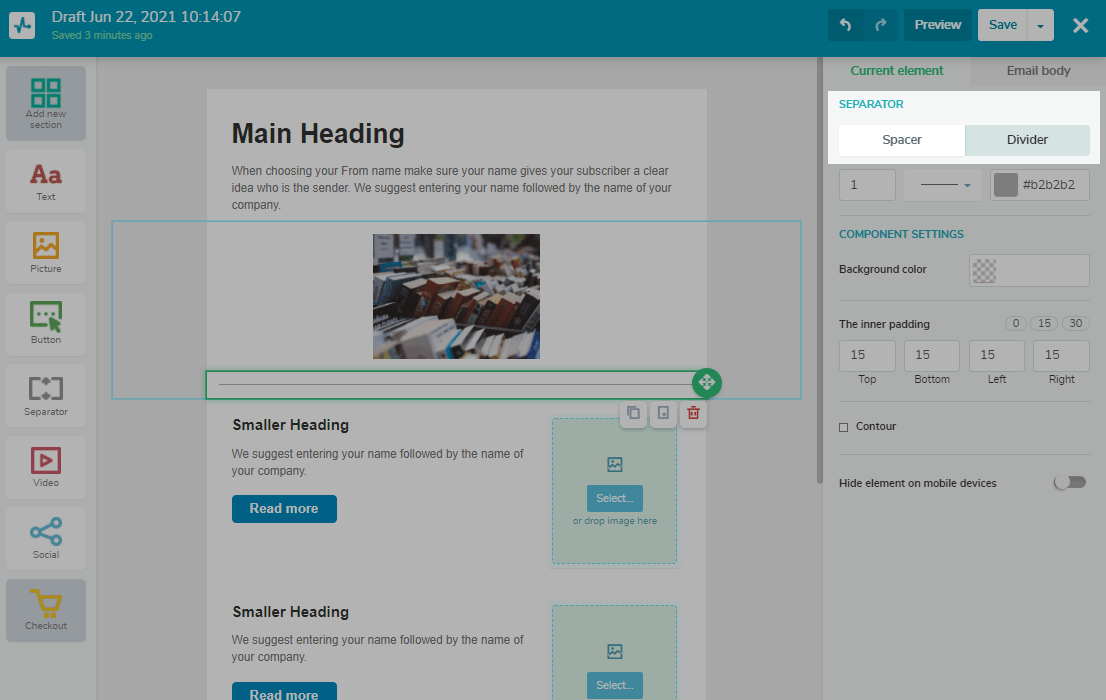
"Separator" element
Use this element to visually separate blocks of the email template.
There are two modes of the separator: spacer and divider.
If you go with the Spacer, you will be able to set its color, and thus template blocks will be separated by a colored block.
If you want to have blocks separated by a line, go with the Divider and pick a line style in the drop-down menu.
"Video" element
Drag&drop a video block.
Add a youtube link in such a format:https://youtu.be/OOeUSBzcuTI.
A preview will appear in the template — recipients will be forwarded to the video when they click on this preview.
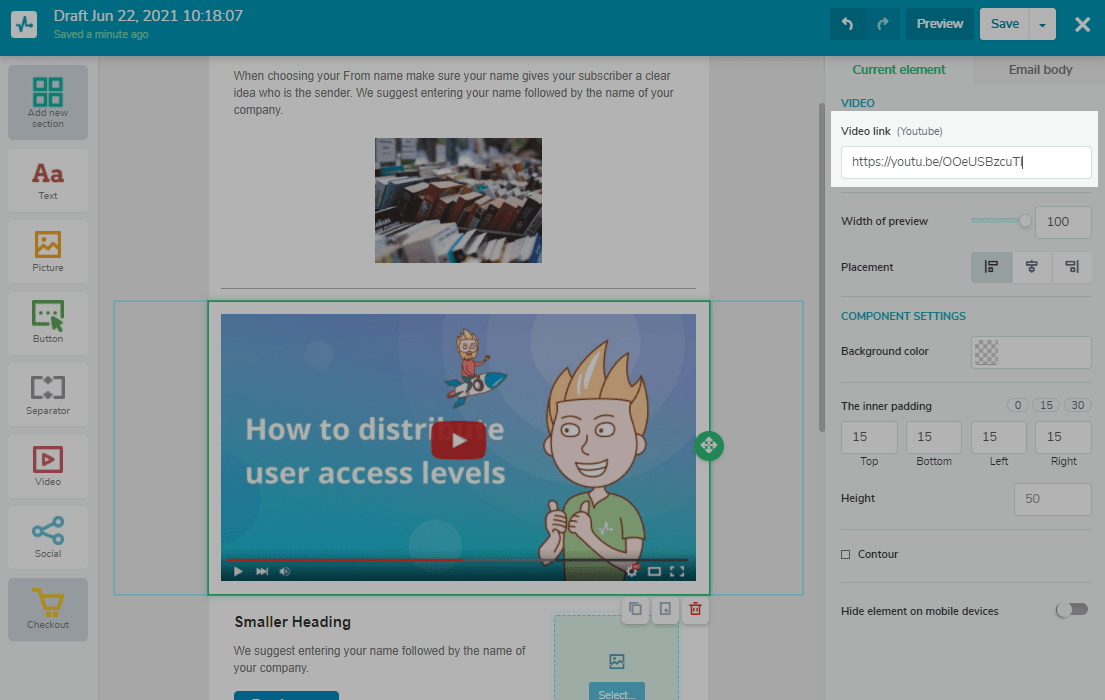
You can adjust the preview location and size, and set the background color and inner padding.
"Social" element
Drag and drop this element to the required part of the template and start editing it.
You can choose the form of icons, add or remove icons, set links, etc.
You can also choose how the social media buttons will be displayed, as: an icon, an icon and text, or just text.
When adding a link, select its type.
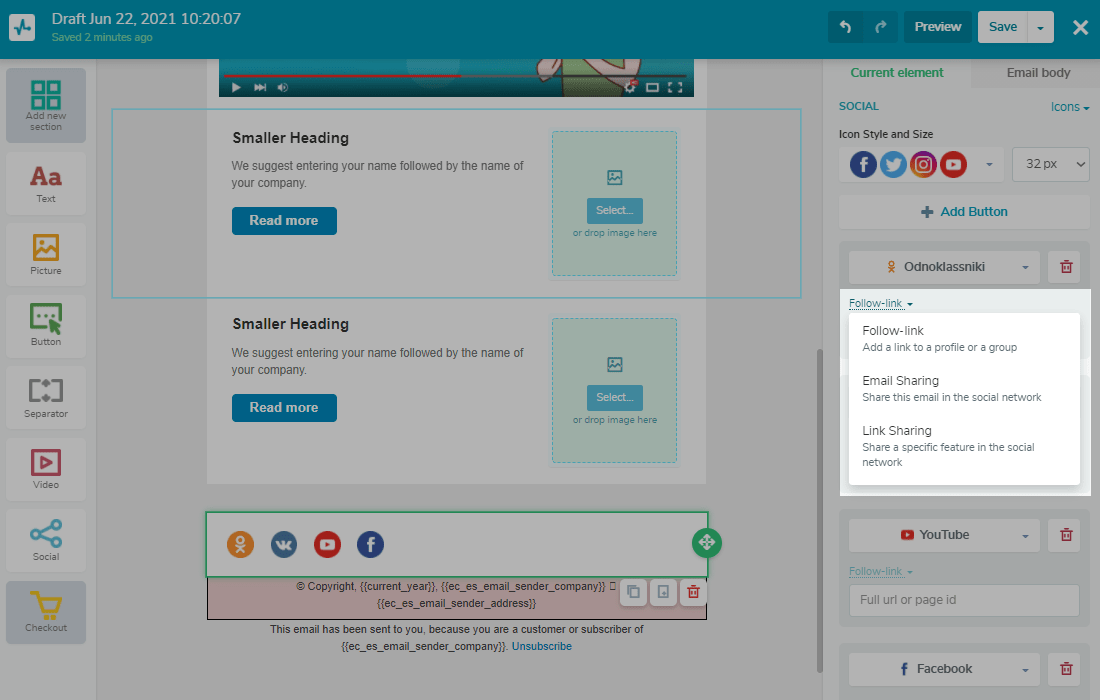
- "Follow-link"— requires the address to the social media page or to the profile the recipient will be able to follow.
- "Email-sharing"— the recipient clicks the link and shares the web version of the email.
- "Link-sharing"— requires a URL of the page the subscriber will share clicking on the link.
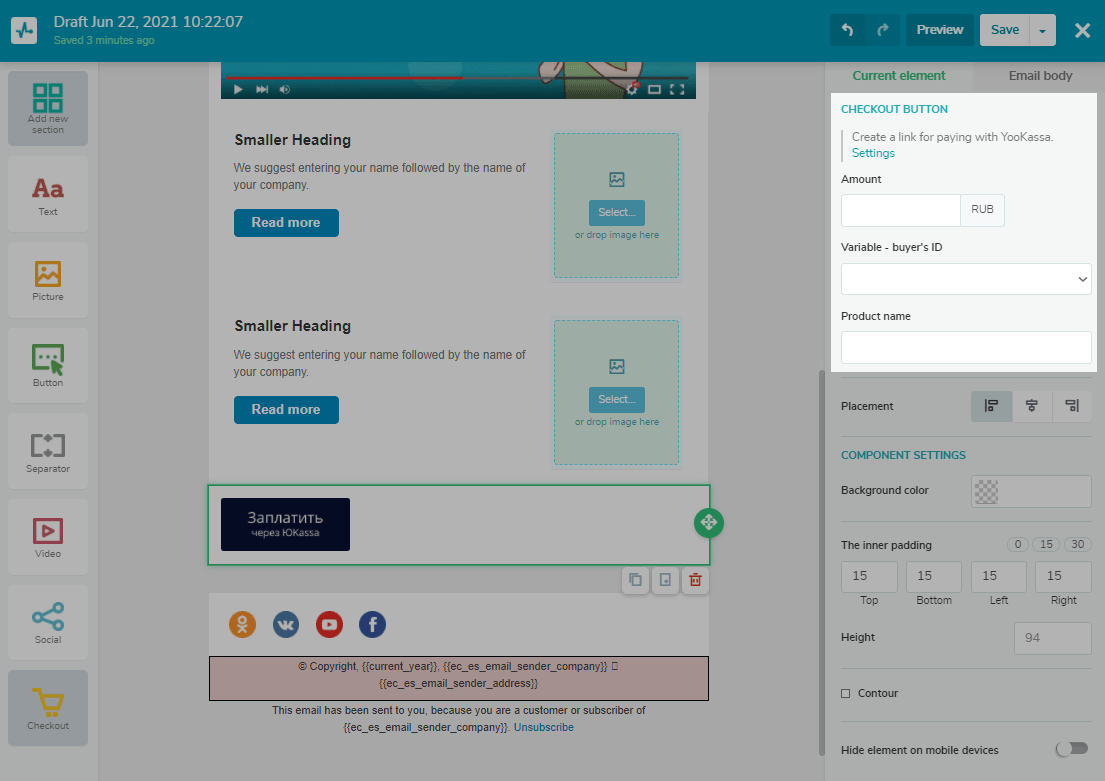
"Checkout" element
Pick "Checkout" in the left panel and click on it, and you will see two available checkout options: YooKassa and QIWI.
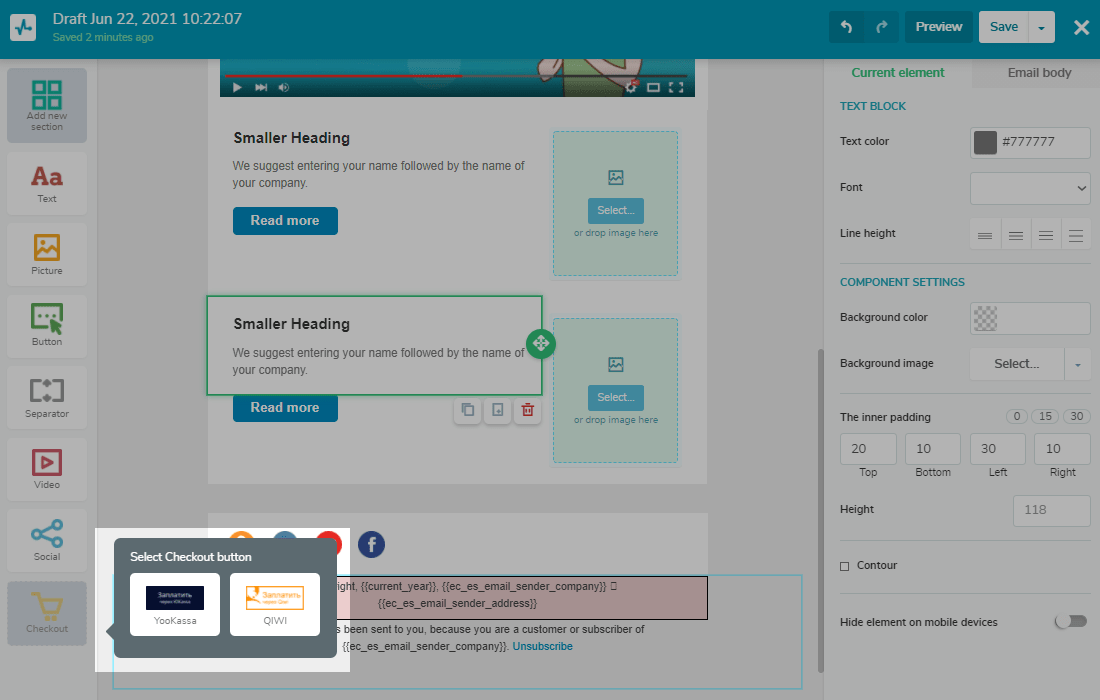
When inserting these payment options, you need to specify the amount and product data.
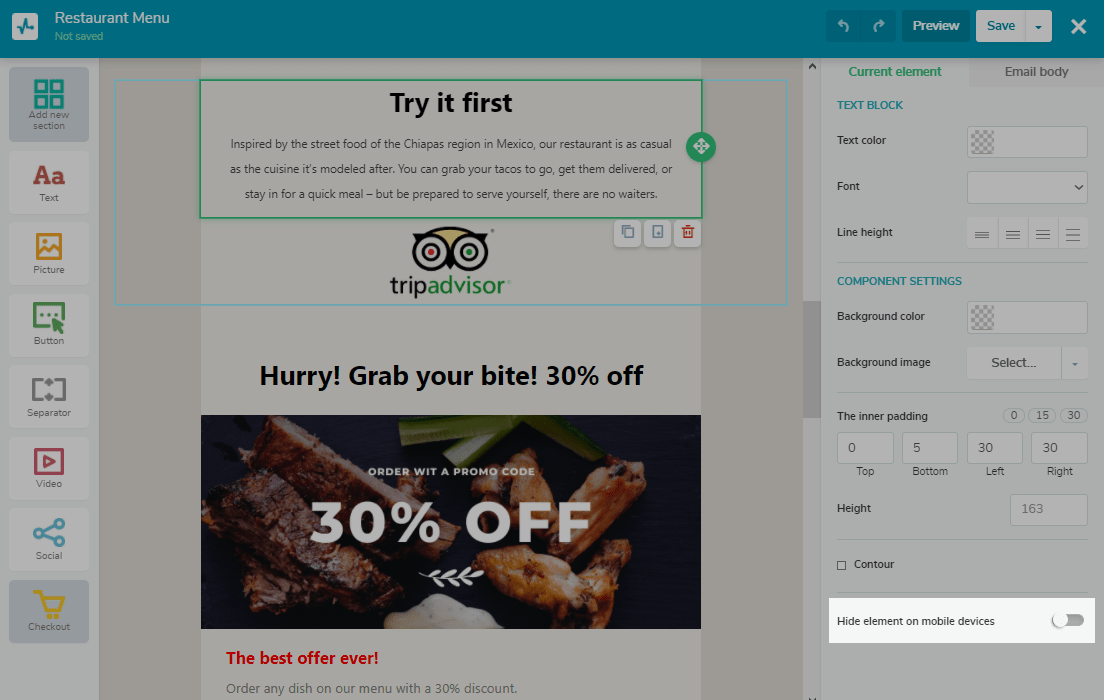
Hide element on mobile devices
You can also hide elements for users on mobile devices.
To do this, select an element and activate the "Hide element on mobile devices" option in the settings on the right.
Please note that this option does not work for all email services. For example, it works for gmail.com and mail.ru but does not work for Yandex.
Last Updated:12.09.2022
Sign up with
Sign in with Facebook Sign in with Google